Do you want to upgrade to Windows 10 from previous version of Windows? If your answer is “Yes” then this guide is quite appropriate for you.
Just after the release of Windows 10 Build 9926, every user wants to upgrade their PC to Windows 10 Build 9926 from the old versions. The reason of upgrading to build 9926 is the exclusive app and new features released with this latest build.
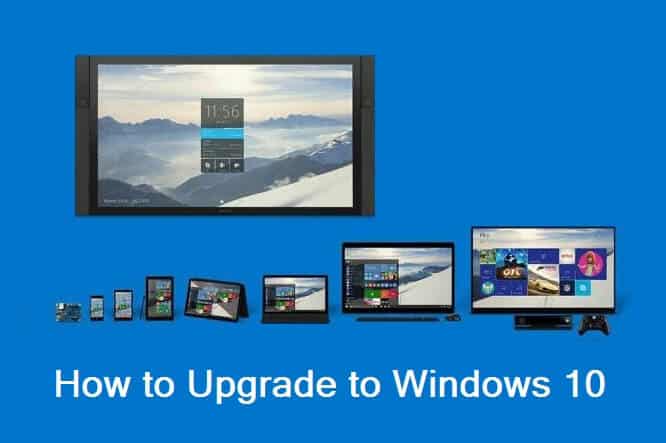
Microsoft has sent the new updates for all those users who already signed up in Windows Insider Program. If you have got the Windows 10 build 9926 update then now it’s time to download and upgrade to Windows 10 technical preview build 9926.
If you are using old version of OS (Windows 8, 8.1, or 7), or technical preview build 9879 then follow below mentioned step by step tutorial for upgrading to Windows 10. Here’s how:
See also: Windows 10 Free Upgrade for Windows 7 and Windows 8.1
How to Upgrade to Windows 10 Technical Preview Build 9926
The process for upgrading to Windows 10 build 9926 is very simple, but you have to follow the all steps very carefully:
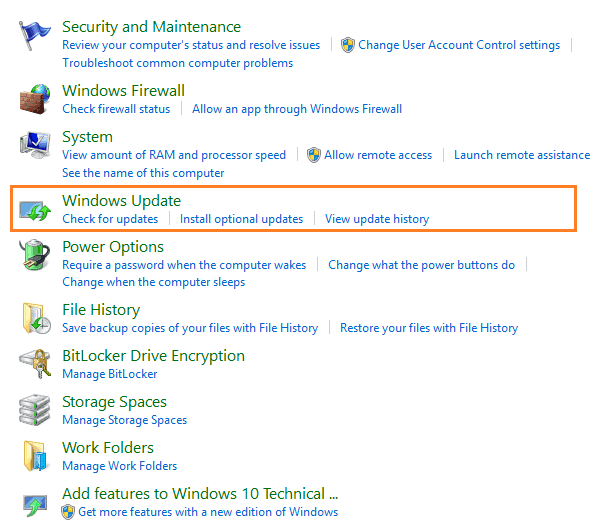
Step (1): First of all, open Control Panel and click on “Windows Update” option.
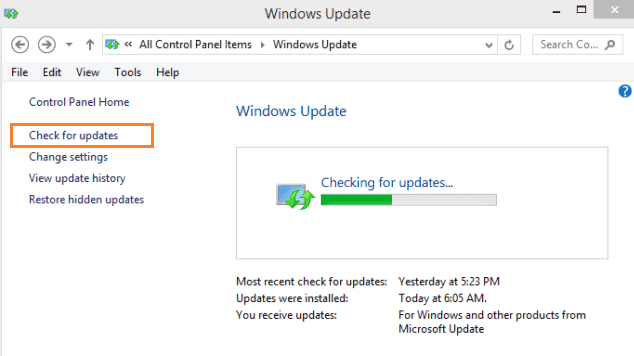
Step (2): On Windows Update window, click on “Check for updates” option to start checking for updates.
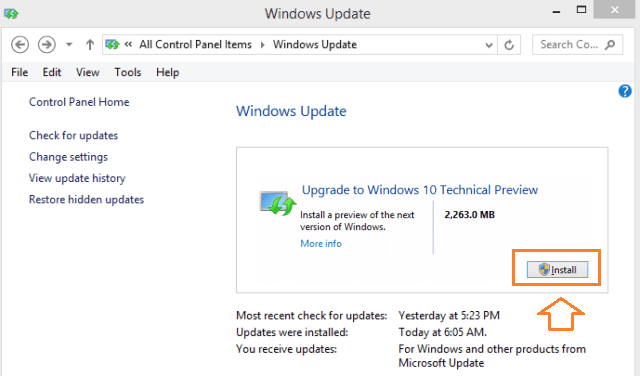
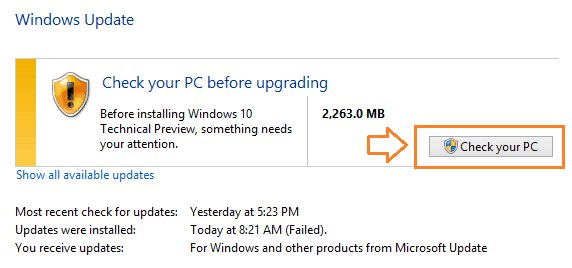
Step (3): If you have already received the update of Windows 10 technical preview build 9926 (which is about 2263 MB in size) then you are ready for upgrading process.
- But if you haven’t got the update for build 9926 then sign up for Windows Insider Program and within few days you will get the latest windows update.
- All the Windows users who have got update of Windows 10 build 9926 on their computer, follow the below mentioned steps:
Step (4): From the Windows Update page, click on “Install” button to start downloading.
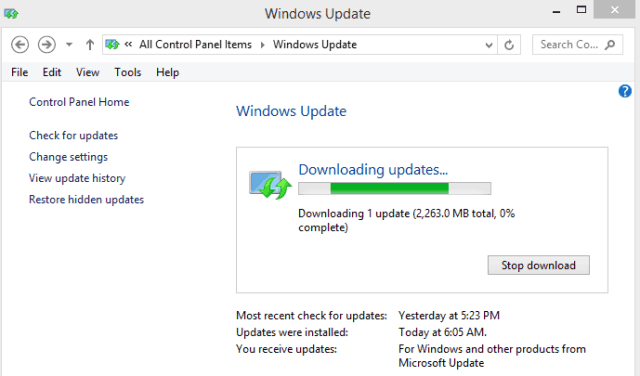
Step (5): Just after click, the downloading process will begin. Keep patience, it will take few hours. The downloading time depends on the speed of data transfer on your computer.
Step (6): When download completed, you will get a notification in Windows update box. Click on “Check your PC” button to check your computer before the installation.
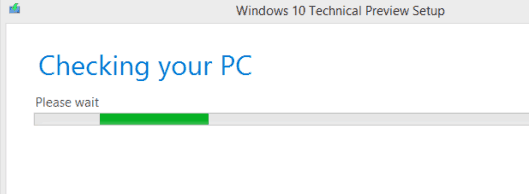
Step (7): After clicking the Check your PC button, the Windows 10 Technical Preview setup will start checking your PC.
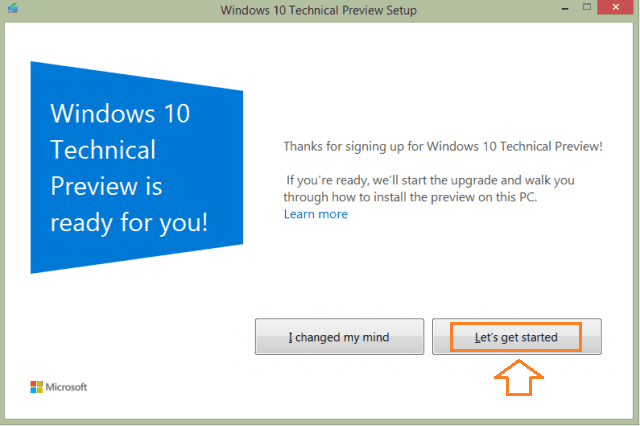
Step (8): Once the PC checking is finished, you will see a confirmation window containing two buttons (I changed my mind, Let’s get started) as shown in below screenshot. Here, click on “Let’s get started” button.
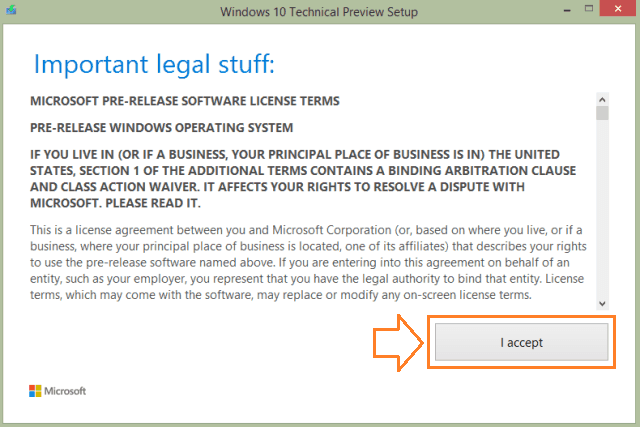
Step (9): After that, the Windows operating system agreement window (terms and condition) will appear. Click on “I accept” button to proceed.
Step (10): Once again, the Windows 10 Technical Preview setup will check your computer quickly and the installation process will be start automatically.
Step (11): Now it’s time to wait. The installation process will take more than one hours. In this duration, please don’t touch your PC. All the installation, extra configuration, and other setup will be done automatically.
Step (12): You have to wait until all setup is done successfully. Finally, you will see a configure settings window to select settings. Here you need to click on “Next” button.
Step (13): After that you will asked to choose between custom and express settings. Click on Express settings. That’s it!
Step (14): Congratulations! Now, your computer is running on Windows 10 Technical Preview build 9926. Start enjoying the exclusive features of latest build 9926.
Thus you can easily upgrade to Windows 10 technical preview build 9926 from the previous version (previous build of technical preview, Windows 8, Windows 8.1, or Windows 7).
